
제일 먼저 프로젝트 JDK 가 제대로 설정되었는지 확인해 봅니다.
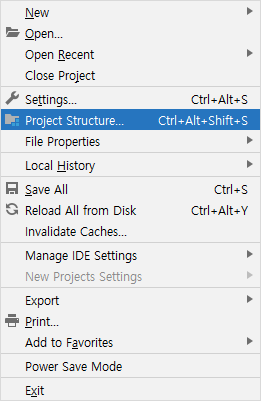
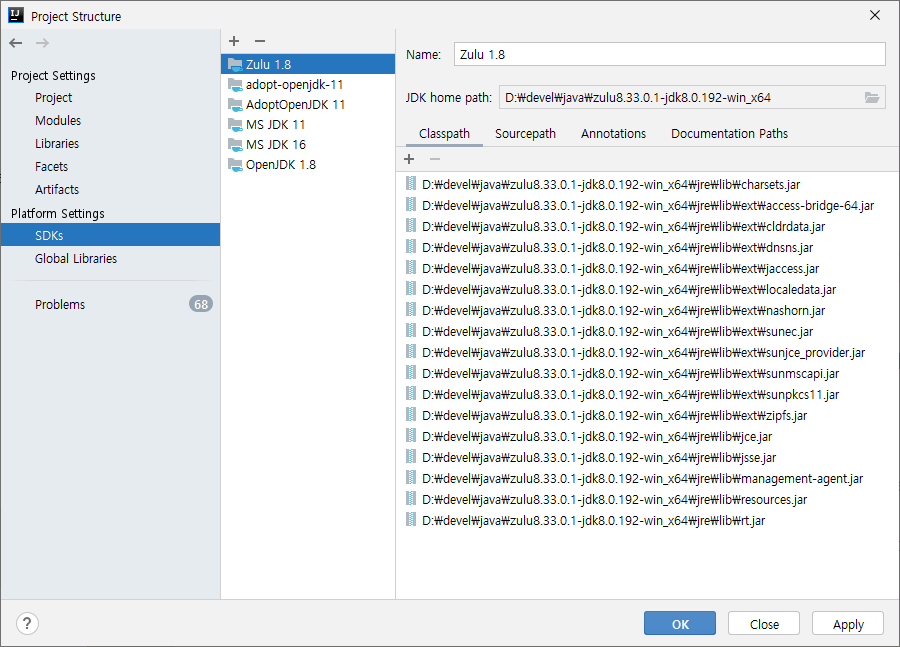
File → Project Structure 를 클릭한 후에 "Project Settings" 에 Project SDK 가 제대로 설정되었는지 확인해 봅니다.

JDK 가 안 보인다면 SDKs 에서 확인해 봅니다.
invalidate caches
다음은 캐시를 날리고 재시작해 봅니다.
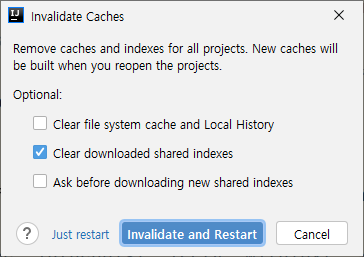
File → invalidate caches 메뉴를 선택합니다.

Invalidate and Restart 버튼을 클릭하면 캐시를 무효화하고 재시작합니다.
Gradle JVM 설정
gradle 에서 사용하는 JVM 과 Project JVM 을 일치시켜 줍니다.
Settings → "Build, Execution, Deployment" → "Build Tools" → Gradle 에 들어갑니다.
Gradle JVM 을 Project 와 일치해 줍니다.


